_Dtech Float Tube
DISCONTINUED
New for 2011, my new free-float tube is finally finished. Over the last 18 years of working with, and building uppers, I have gotten increasingly disappointed with the commercially available float-tubes on the market. Most are of the two-piece design that forces you to accept whatever torque you end up with when the barrel-nut is correctly timed-up to the receiver. My new float-tube has a two-piece barrel-nut that allows you to get perfect alignment for the gas-tube, without respect to torque. This also allows you to have the vents and sling-stud always time-up perfectly. The float-tube can be installed. removed and reinstalled as many times as you wish, and you will never have to worry about your sling-stud ending up anywhere but bottom-dead-center!
All float-tubes are ventilated and have a bi-pod/sling stud installed. The tubes have a flat knurl. Just enough to give you grip, but will not tear up your sand-bags or rest.
The new Dtech float tubes are available in carbine, mid-length and rifle-length and are priced at $100.00 for any length.
For detailed instructions on how to install the Dtech float tube CLICK HERE
For detailed instructions on how to install the Dtech float tube CLICK HERE
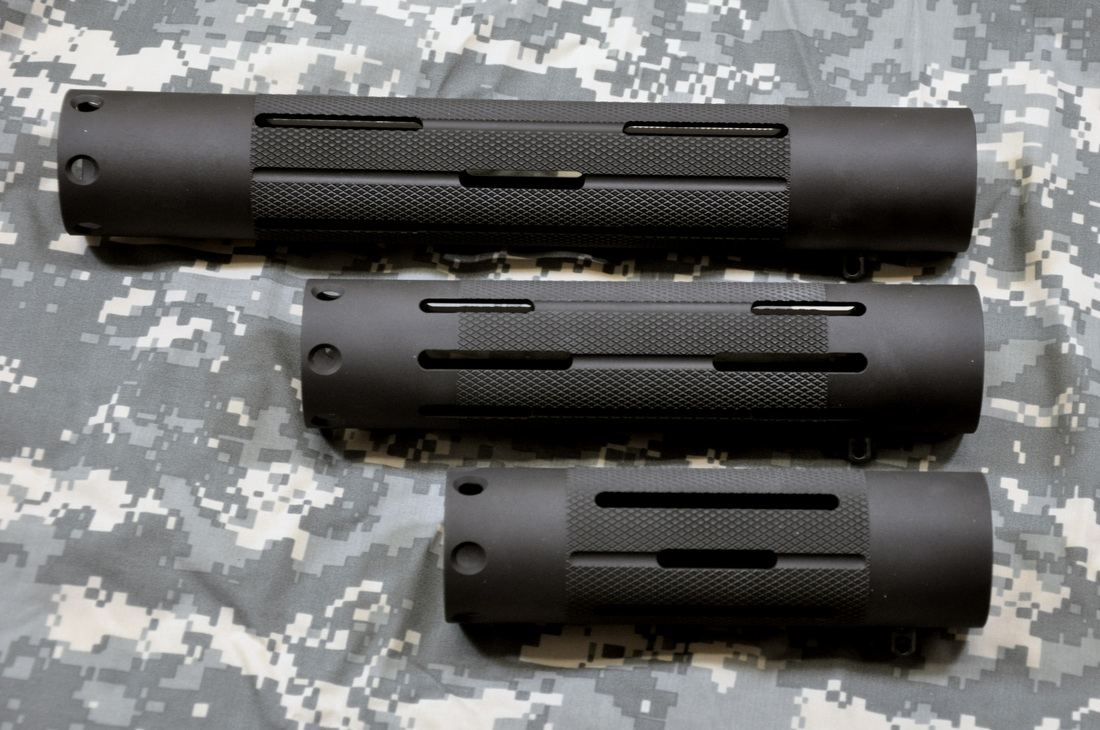 carbine, mid-length and rifle-length dtech float tubes |
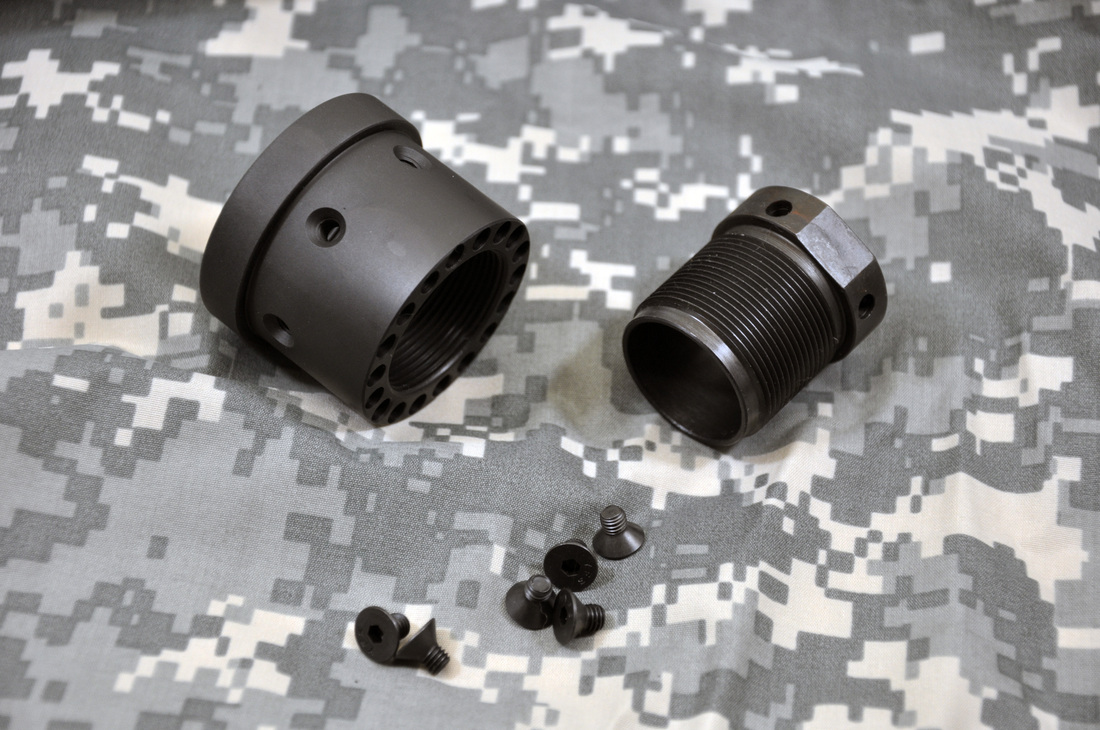 rifle-length tube, with the nut and insert. |
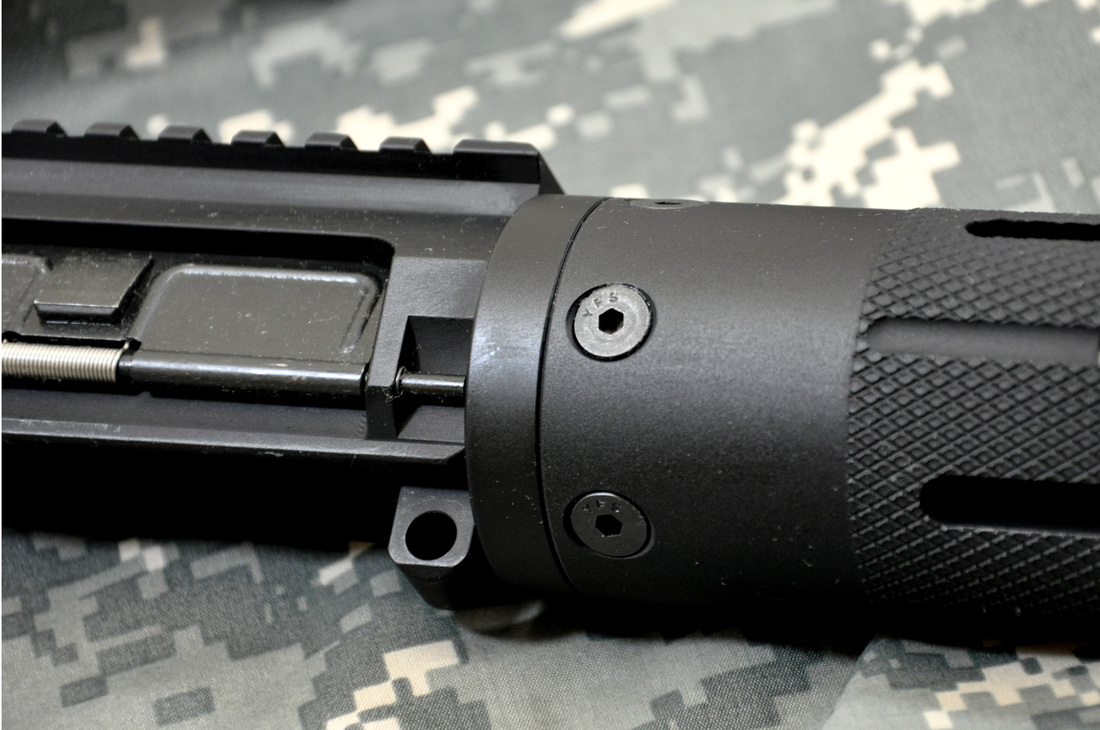 Float tube mounted |
Mounting Instructions and Tips:
Step: 1) once you have the old free float-tube and/or barrel nut removed, clean any grease or oil from the threads of the upper receiver extension.
Step: 2) apply a drop or two of blue LocTite® to the receiver threads and screw the large aluminum barrel-nut on until it stops, then back it off a ¼ to ½ turn.
Step: 3) insert the barrel and slide the steel insert over the barrel and thread it into the aluminum barrel-nut; now, back the aluminum barrel-nut up so that it is about 2 or 3 holes away from lining up with the gas-tube hole in the upper receiver.
Step 4) turn the barrel-nut and insert by hand until you get a good, solid hand-tight alignment with the barrel-nut and receiver. Once you have got the two aligned, let it sit for a couple of hours; after the blue LocTite® has cured between the barrel-nut and receiver, the steel insert and barrel can be removed.
Step 5) place a drop or two of blue LocTite® on the barrel extension and rotate the barrel as you insert it into the receiver. thread the steel insert into the barrel-nut and once it is finger tight, back it off three or four turns and place a drop of blue LocTite® on the threads of the steel insert, right where it becomes visible out of the barrel-nut.
Step 6) now torque the steel insert down to desired torque. This can all be accomplished without letting the Loc-Tite® on the receiver setting up, but the barrel-nut can move while you are torquing the insert, and then you will have to loosen it up and re-time it.
Step 7) once you have installed the tube, and aligned the 6 radial holes with the corresponding holes in the barrel-nut, the 6 countersunk screws can be installed. I highly recommend applying some grease or anti-seize to the threads and tapered holding area of the screws.